
THE SHORT ANSWER
The key idea, first.
An interactive exhibit brief should explain the intended visitor experience, the physical site, how the exhibit will operate and the scope to be priced. An early sketch or reference is enough to begin; record any assumptions that still need checking.
01 / EXPLAINING THE IDEA
Begin with the visitor
Describe who the exhibit is for, the science theme and what visitors should actually do. A clear action is more useful at the start than a long list of visual effects. Identify whether the activity is individual, shared or facilitated.
02 / EXPLAINING THE IDEA
Describe the setting
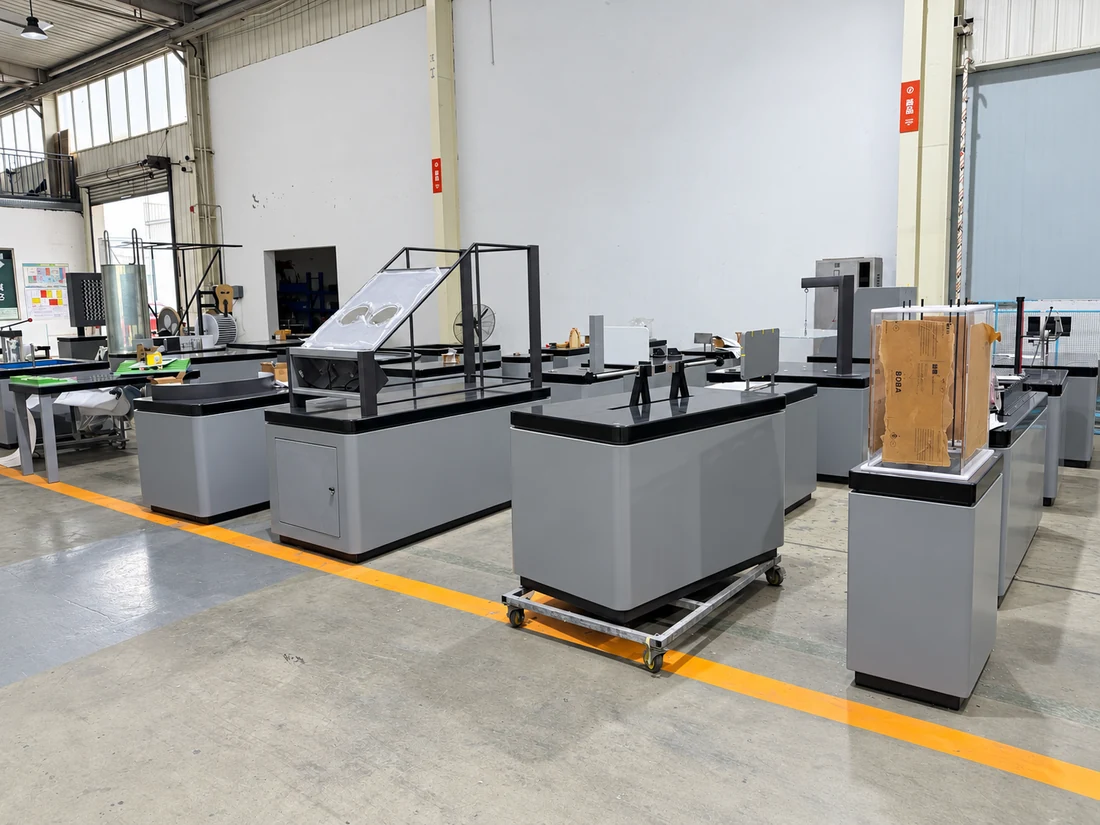
Include the available footprint, access route, expected operating environment and any known power, water or network constraints. Mark assumptions that still need a site check. A photograph or plan can help explain the context. For Exhibit Engineers powered versions, typical power ranges are Standard products: 100–500 W; oversized installations: 1,000–5,000 W. Confirm the final connected load. The standard finish is Marine anti-corrosion paint with a piano-gloss automotive paint finish. Applied to painted parts.
03 / EXPLAINING THE IDEA
Make operation part of the brief
Identify who will open, supervise and maintain the exhibit. Discuss access for service, cleaning, replaceable parts and the information needed at handover. Confirm the exact support scope with the supplier.
04 / EXPLAINING THE IDEA
Agree on the review points
Record the project stage, target dates and the people who approve design and testing. Separate a visual concept from a technical specification, and a factory demonstration from site acceptance. This gives both teams a clearer basis for the next conversation.
05 / EXPLAINING THE IDEA
Specify what acceptance will demonstrate
For a moving exhibit, describe the required start, stop and reset sequence, the visible response and any agreed operating limits. Record what will be checked in the factory and what must be checked after installation. Keep the test method, acceptance criteria and sign-off responsibilities in the project specification.
06 / EXPLAINING THE IDEA
Ask for a maintenance and support handover
Installation and operating videos, written installation and operating instructions, drawings and a spare-parts list are provided. Complimentary training is available on site or remotely, according to project needs. Mid-production and pre-dispatch checks are provided. Factory acceptance can take place in person at the factory or through acceptance videos. Factory-dispatch lead time is STEM products: 30–90 calendar days; other products: 30–120 calendar days. The period starts after both design approval and receipt of the deposit, and runs to factory dispatch. Transit is arranged separately for the project. 24 months of complimentary spare-parts support, starting when the exhibit is handed over for use. Covers faults not caused by the user. User-caused or deliberate damage is excluded. Exhibit Engineers pays the shipping cost of complimentary spare parts during the 24-month support period. Scheduled maintenance every 30 days. The daily operating schedule is 8 hours per day; follow the product-specific operating sequence and checks.
Build a useful project checklist.
- Experience
- Theme, audience, visitor action and the result you want people to notice.
- Site
- Location, available dimensions, plans or photographs, access and known utilities.
- Operation
- Daily use, supervision, controls, cleaning and maintenance access.
- Delivery
- Required design, fabrication, testing, installation and handover responsibilities.
- Timing & budget
- Target opening, review deadlines and a working budget range if available.
- Acceptance
- The actions, outputs and checks both teams will use to review the result.
A practical starting example.
A visitor turns a handle to make a mechanical model move.
- Visitor action
- Visitors should be able to connect the handle action with the visible movement.
- Site
- Indoor gallery; attach a marked plan and available dimensions.
- Scope
- Discuss the mechanism, enclosure, controls if needed, testing and installation.
Illustrative starting brief, not a specification for an existing Exhibit Engineers product.
SCIENCE & FURTHER READING
Follow the sources.
Read the original scientific explanations and teaching resources behind this article.
- Western Australian Museum — Developing and Planning Exhibitions
Background on exhibition objectives, audience, resources and planning. The exhibit procurement checklist here is Exhibit Engineers’s own practical starting point.
Editorial: Exhibit Engineers science & exhibit team. Scientific references are cited for the explanations; product configuration details follow the linked exhibit records.